Cummins 4BT & Diesel Conversions Forums banner

The Great White K5 Blazer 12V swap - for real!

183K views 254 replies 54 participants last post by  MaxPF  
#1 · (Edited)
The Great White K5 Blazer 12V swap

Yup, it's gonna happen. Since the Cummins swap won The Poll by a landslide (was there ever a doubt?) I figured it's time to get the show on the road, so here goes:
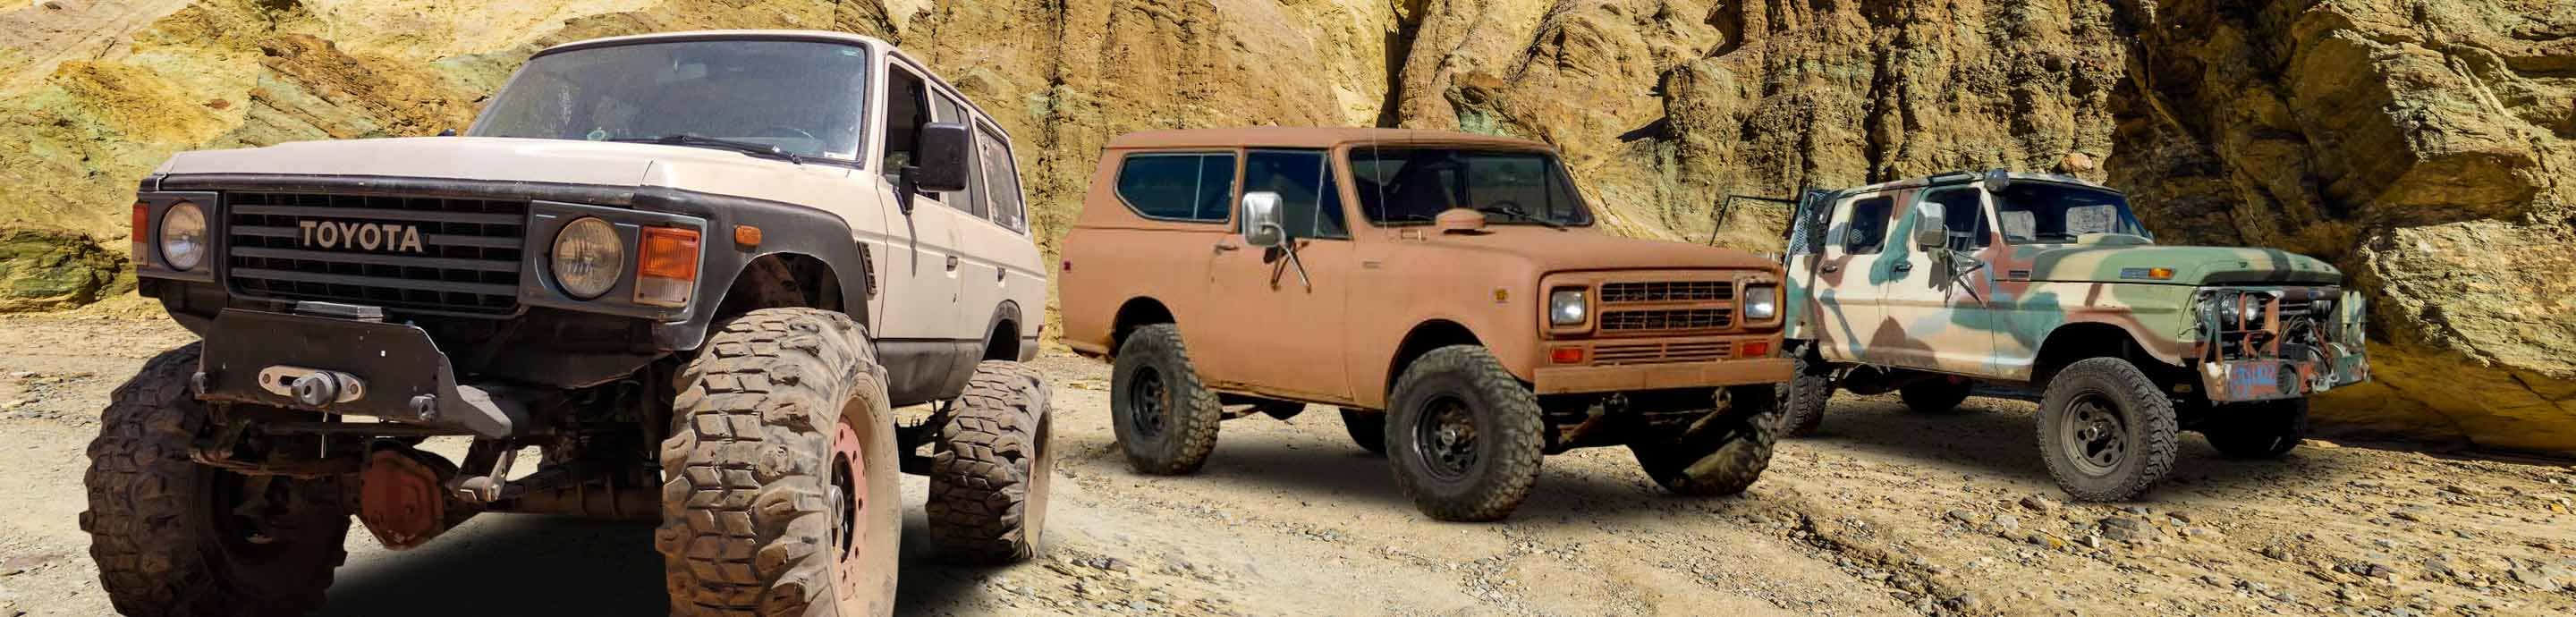
Here's the victim:

Image


Here's where I found out what my seat cushion tastes like :eek: :

Image


Here's what she sports under the hood:

Image


Image


It's a 1991 vintage J-code 6.2 with only about 60k miles on it. The tag on the air cleaner says it is an LMM engine (no joke) rated at 165HP. Torque comes in at around 285lb-ft or so. It's actually pretty spry, especially for a naturally aspirated diesel. Still, it will never make 300+HP and live to tell about it, so out it goes.

Here's what will replace it:

Image


Image


It's a 1995 P-pumped 12V rated at a furious 160HP and a respectable 400lb-ft of torque. It won't stay that way though :D

This was the scuzziest engine I have ever had to clean. Apparently fleet maintenance techs don't believe in washing the engine... ever. I actually broke down and bought a needle scaler to remove some of the rock hard grime from the engine. Anyway, I finally got it clean enough to paint. It wasn't super spotless, but it came out ok. I sprayed 5 Star Xtreme epoxy primer on first, since there was a fair bit of bare metal showing after the cleanup job. The paint used is Western's 3rd Dimension acrylic urethane in genuine Cummins beige (for future reference, the 3rd Dimension number for that color is DS-7366-A). I used 3rd dimension because I already had the reducer and hardener from another project, it is fairly durable, and it only costs $20 a pint. Here's the after pics:

Image


Image


Image


That's where I am right now. Besides painting the engine I had also swapped the front sump pickup to a rear sump pickup, reversed the oil pan, and installed a new pan gasket, pushrod cover seal, and rear main seal. I also have a new front crank seal and of course a new timing cover gasket, which will get installed after I re-install the IP. The next things to do are to get the IP cleaned, installed, and timed (stock timing was 12.3 degrees, I'm probably going to set it for 15 degrees). Then I need to get the exhaust manifold cleaned, painted, and installed. Turbo needs a rebuild. And I need to build accessory brackets to hold my GM alternator and Seltec AC compressor.

Sometime in between all that I will pull the 6.2 from the truck, clean the engine bay, and do some work to the frame. Why do that before the engine is ready to install? Well, it's simple: When Cortez reached the New World, he burned his ships. As a result, both he and his men were highly motivated. This is the same sort of principle. If my truck (my DD no less) isn't running, I will be much more motivated to haul ass and get it finished. Well, that's the theory anyway :D
 
#2 ·
looking great! i grew up not far from there, and would have loved to have a rig like this to roam around all that BLM land in, looking forward to your progress with interest.
 
#5 ·
Don't forget the Killer Dowel Pin Fix.

.
The KDP was already staked when I took the cover off. I believe this engine is a Cummins factory reman...
 
#4 ·
well i dont know what happened to your original thread but i live on the the tempe/mesa border. so if you need a hand, or wanna go 4x4 ( stock extended cab short bed silverado), or just grab a beer let me know.
 
#6 ·
i will be watching this build close as i have a 84 K5 i wanna put a 6bt in. it currently has a TBI 350 that just crapped the bed and i'm looking into something that'll last a little longer and make a little more power...hehe
 
#7 ·
I got a few things done today. First off, while cleaning my valve cover gaskets I found out that they had a lot of gouges and cuts on the sides that seal against the head. Since oil leaks suck I went down to the local Cummins shop and got 6 new ones.

I also modified my new 1-1/2" input shaft to take the later wide input bearing. Here's a picture of it before the mod, sitting next to a 1-1/8" shaft that accepts the later bearing:

Image


You can see that the bearing surface on the 1-1/8" shaft is wider than on the 1-1/2" shaft. This change was made in 1988, along with changing the top cover from iron to aluminum (except for Suburbans). Since the wider bearing has quite a bit greater load capacity (not that the narrow one is a slouch by any means) I figured I would widen the bearing seat on the 1-1/2" shaft to accept the wide bearing. This involved cutting the shoulder back .160", and undercutting that area of the seat .005". This was done on a lathe using a carbide tool since I don't have a grinder at my disposal. The shaft is quite hard - the chips were actually dull red coming off :eek: Here's the two shafts side by side after the modification:

Image


With that taken care of I can proceed to assembling the transmission. I might need to order a parts kit for the top cover though.. we'll see when I get to that point...
 
#10 ·
Image


I will regear to 3.23's, which will have me turning 1900RPM at 65MPH and 2200RPM at 75MPH. For comparison, an NV4500 with my current 4.56's would turn 2020RPM at 65 and 2330RPM at 75. With the ample torque rise of the Cummins (especially with a modded torque plate in the pump) it won't be a problem only having 3 useable gears. My intention is to never have to downshift on the highway grades with any reasonable amount of weight that the K5 can tow.

I did get a few more things taken care of today. I pulled all the valve covers back off since I needed to install the new gaskets. I adjusted lash on all the valves and used the #1 intake valve as a piston stop to verify the accuracy of my timing pin. The pin should be on the money, but I have heard stories of where they are a bit off (perhaps from damage to the pin?). Anyway, mine was within 1/2 degree or less of what I got with the piston stop method, so I called it good. I retorqued the head bolts to 125ft-lbs and reinstalled the valve covers. Then I went ahead and installed the flywheel so I could use my barring tool when I get the IP installed and need to set the timing.

It's starting to get pretty chilly at night now. Yeah, yeah, I know - AZ isn't cold compared to where a lot of you live. Well, that's YOUR problem :D. Anyway, itĹ› time to break out the propane fired infrared heater and get the propane tanks filled ;)
 
#12 ·
You need to get a move on! :D At the very least you need to get it finished in time for Blazer Bash ;)
 
#16 ·
I'm making incremental progress. I got the IP put back on and timed. The stock timing listed on the engine data plate was 12.3°, but for better fuel economy and power I bumped it to 15°. My setup for timing the P-pump probably isn't Cummins approved, but it got the job done:

Image


The only real annoying part of this whole setup is that I can't see the indicator while using the barring tool. I overshot the mark a couple times but finally managed to get it. Afterwards it occurred to me that I could have used a mirror to see the indicator while barring the engine
Image


Anyway, I got that done, replaced the timing cover along with a new crank seal and gasket, of course. Then I cleaned, painted, and installed the harmonic damper. I still need to clean, paint, and install the injector line set and fuel filter adapter. Then I need to go to The Parker Store and get a new oil supply line for the IP, one for the turbo, and a steel braided teflon line to connect the fuel filter adapter to the inlet of the IP. I plan on running all steel braided teflon and stainless for the fuel lines so I can run biodiesel. I don't know what the current steel braided line is, but I don't want to take any chances.

Speaking of fuel line for biodiesel, teflon, nylon, and viton are no longer the only (expensive) choices. Eaton/Aeroquip has a hose called GH100 that is designed specifically for biodiesel. I'm going to stick with steel braided teflon because of it's abrasion resistance, but for folks on a budget who want to run bio, the GH100 looks like a good choice.
 
#17 ·
I went out and spent more money today:

Image


It was cheaper than Cummins, but my wallet still feels the pain. The short -4 hose assembly is a new oil supply line for the IP. There was nothing visibly wrong with the old one - it looked beat, but probably still would have been OK. I just figured I should replace all these engine mounted lines. The oil supply line for the turbo looked pretty rough, so it got replaced. So did the fuel line going from the filter housing to the IP (the longest one). All the lines are stainless steel braided teflon:

Image


The sharp-eyed among you will probably notice that the replacement line is definitely non-stock. I prefer AN stuff wherever possible because they can be R&Red repeatedly and seal every time with no need for o-rings. The manufacturers rarely use them because they are the most expensive type of fitting, and they don't care about repeated reusability just convenience of assembly :rolleyes: So anyway, I replaced the 14mm banjo fitting in the IP and the 12mm one in the filter housing outlet with -6 AN adapters. They were out of aluminum 14mm to -6 AN adapters so I had to get steel instead (the aluminum are actually cheaper) for the IP. Here's a pic of the ends:

Image


Image


The Parker Store will build hoses to your specifications while you wait. Another alternative is to simply buy the steel braided teflon line and the reusable type fittings and assemble them yourself, but that actually costs more.

For the new turbo oil line I chose to use AN fittings as well rather than the internal flare type fittings that Cummins uses. Both the oil filter housing and the turbo oil inlet are 12mm threaded, same as the inlet and outlet of the fuel filter, so I got a couple more Earl's 12mm to -6 AN adapters to attach the oil line. A 3/8" oil supply line to the turbo seems a bit large, but that's what Cummins used so that's what I replaced it with.

The turbo kit is self explanatory. The axial play in the turbo is on the verge of being scary. No parts have gotten cozy yet, but they're not far off. I hope to get to that this weekend...
 
#18 ·
Houston, we have a problem!

Well, I pulled apart the turbo today. I should have done so before buying the rebuild kit though... the compressor wheel had gotten cozy with the housing at some point :( The damage is minor, but enough that I won't use it. I have a couple options; I can replace the wheel and housing (around $150 or so), or I can use a different turbo. I'm leaning toward the latter option, since I was planning on eventually replacing the WH1C anyway. I have a couple TO4 turbos in different trims that I could use. All I would have to do is build a T3 to T4 flange adapter, which is trivial. The TO4's don't have internal wastegates, but I had already planned for that eventuality. Here's what I am talking about:

Image


Image


Image


Image


Image


Yup, I added a flange for an external 38mm wastegate. The wastegate itself is an old, discontinued Turbonetics Deltagate MkII from a previous project. It has a 5PSI spring in it, but with the external boost controller it is adjustable up to the limits of the controller. In the second to last pic you can see down inside where I cut the opening into the manifold. It is a divided plenum manifold, so a bit of work was needed getting that piece out. I still need to get in there with a rotary file and clean it up a bit more. Also, the wastegate flange warped badly when I welded it, so I will need to flycut that surface. No biggie.

The manifold itself is nodular cast iron, and it actually welded quite nicely. I preheated it to a dull red temp and then TIG welded it with Eutectic 680 filler rod. I made short (1" or so) stringer beads and then peened them thoroughly with a needle scaler to relieve any built up stresses. I have always had excellent success with this method, so I shouldn't have any problems with cracking.
 
#19 ·
A couple of things:

Head studs on cummins are torque angle specs, not just straight torque. I would use this if it was me.

Also, that 5psi spring will not work well at diesel boost levels. General rule is that 2x the spring rating is about all you can get controllable boost up to with a controller. It will hunt. You really need a 20lb spring or something in that range.

Good luck.
 
#21 ·
A couple of things:

Head studs on cummins are torque angle specs, not just straight torque. I would use this if it was me.
I didn't "re-torque" the bolts per-se, since I never loosened them. I simply went around in the normal torqueing sequence with the torque wrench set to 125ft-lbs (which seems to be the general consensus when doing this - I believe this came from Cummins' original torque spec, before they changed it to torque angle) and simply pulled all the bolts to that spec. ALL of them pulled 1/8 to 1/4 turn :eek: Just goes to show how much the gasket and bolts both relax over time. Anyway, since I wasn't starting from zero, or from any known value, I couldn't use the torque angle method. I would have had to loosen all the bolts in the reverse order, but I didn't want to relax the pressure on an old head gasket. So, whatever preload is on the gasket now should be closer to "spec" than when I got the engine...

Also, that 5psi spring will not work well at diesel boost levels. General rule is that 2x the spring rating is about all you can get controllable boost up to with a controller. It will hunt. You really need a 20lb spring or something in that range.

Good luck.
Hmmm, I have never had a problem with hunting or overshoot, even at 15psi with the 5psi spring. Perhaps with a true electronic boost controller that might be the case. I should have said "boost regulator", since that is what I am actually using. The wastegate is dual ported, and the regulator applies whatever pressure it is set to to the top of the diaphragm, where it is added to the spring pressure (or subtracted to the boost applied to the underside, whichever way you want to look at it). So, if the regulator gives you 0-25psi, when combined with the 5psi spring it will effectively give you an adjustable range of 5-30psi. I used it on my V6 Camaro years ago and like I said I had zero issues with hunting, overshoot, or boost creep. A lot of diesel guys use the same setup with large amounts of boost and never have any problems. AFAIK the biggest springs available for common external wastegates (i.e. Turbonetics, Tial, etc.) are around 15psi, so you have to use a boost regulator or electronic boost controller at higher boost levels to control the 'gate. Also, springs larger than 15psi would risk rupturing the diaphragm from the pressure differential. By using a regulator or controller you can control very large boost pressures but only have 15psi or less across the diaphragm. Usually, guys try to stick to the smallest spring possible, but if the drive pressure starts to push the valve open you have to go to a stiffer spring. I think the 5psi spring will be fine for the 20psi I plan to run initially. If I need more later I can always run a bigger one. It gives me one more thing to tinker with :D
 
#20 ·
Great thread, I like all the attention to detail with the engine build.. Looking forward to seeing it come together..
 
#23 ·
After examining all the alternatives I have decided to go ahead and use the WH1C anyway. The witness marks in the compressor housing will clean up with some Scotch-Brite, but I will still have to replace the compressor wheel, which is $80 or so. The turbine and turbine shaft are in good condition, as is the turbine housing and cartridge housing, and I already have the rebuild kit so I figured that would be the best bet. The journal bearings were actually in excellent condition - the thrust bearing took all the beating in this turbo.

During the turbo rebuild I will tie the wastegate flapper shut, so all boost control will be done with the Deltagate. The WH1C has a 12cm housing, so it should spool up pretty fast and be capable of 30psi or so of boost if I want it. For now I will run it at around 20 and work on pump mods. If more air is needed later all I have to do is turn a knob :D
 
#24 ·
No turning back now...

I got more stuff done over the holidays.

Image


I took these pics at night, so they are a bit dark. Anyway, that is a pic of the exhaust manifold mounted up. I used POR-15 Black Velvet high temp paint on the manifold and the cast iron turbo parts, since I already had a half pint lying around. The Manifold Gray would have looked neater, but I was being cheap :rasta: After I painted it I stuck all the parts on the barbecue grill and cooked 'em for a couple hours to cure the paint. You can see the wastegate mounted atop the turbo mounting area. Also, the fasteners used are all 304 stainless steel, with anti-sieze applied to the threads. I hate the way regular alloy steel fasteners rust up and get weak when exposed to repeated heat cycles. 304 stainless isn't nearly as strong as a grade 10.9 bolt, but it is stronger than that same bolt which has been heated to 1000+ degrees and lost it's tempered strength.

Here's the turbo bearing housing and turbine housing painted with the same paint, just waiting to be assembled:

Image


I have no idea what the wet-looking purplish spots or the light gray areas are on that turbine housing are. They only look like that under the camera flash... wierd. Anyway, I also spent $90 on a very important replacement part:

Image


I also had the complete assembled shaft assembly checked for balance. It turned out to be well within spec, with no balancing needed.

Finally, I started and finished the first major hurdle of the swap yesterday:

Image


Bye-bye 6.2. With the engine out I can prep the engine bay to receive it's transplant. The first thing to do is to remove the front-most crossmember and repair the frame area around the steering box:

Image


Image


You can see the previous repairs as well as the cracks. I cut the same uncracked section of frame out of a Suburban my roomate scrapped out a while back. I am going to trim it into a weld-on patch identical to the one ORD sells. Then I will box in that section with sleeves in between them, and use longer bolts to reattach the steering box. Then I will install a new crossmember just forward of that area with extra gesseting to support that section of frame. Once that crossmember is in place to keep the frame rails tied together I can remove the existing engine crossmember. I will build a new one once the engine is in place.

Other things to do are to reinforce a few key areas on the front frame section. The area where the front spring shackles connect is a known weak area. Also, I want to add reinforcement behind where my shock towers are located to prevent frame fatigue in that area. I also have some minor damage on the underside from wheeling that needs to be fixed. Once those things are done I can start test fitting the engine. bounce
 
#25 ·
Torque angle has been the standard for long time. The 125lb is a number I have seen floating around, but not the best idea. You also want to check bolt stretch before you just retorque. Guages are available through cummins delears for about $13.

You touched on the main problem with such a light spring with the gate pushing open. I have always used as close as I can get to the desired boost and then a bleeder valve type regulator for increasing boost past that. As far as the diaphram rupturing that is a new one on me. There are gates made to handle high boost, but maybe that is not one of them.

Also, I would very strongly suggest you pull out those stainless bolts and replace them with regular g8 steel. I have been down this road too and I can tell you it can be a nightmare. Stainless will gald after many heat cycles and you an have a mess on your hands. The antiseize will help, but still not a good idea on exhaust stuff. They snap so easily.

Hope you dont think I am picking here, but I have done a fair amount of this stuff and learned from my own mistakes. I just try to keep poeple from reliving headaches I have had.

I think you gotta cool build and it should be fun.
 
#26 · (Edited)
Torque angle has been the standard for long time. The 125lb is a number I have seen floating around, but not the best idea. You also want to check bolt stretch before you just retorque. Guages are available through cummins delears for about $13.
I'm going to run it. Most people would simply run the engine as it came without doing anything, and very few would have a problem. As I said, it isn't perfect, but it is better than it was and I doubt it will be a problem.

You touched on the main problem with such a light spring with the gate pushing open. I have always used as close as I can get to the desired boost and then a bleeder valve type regulator for increasing boost past that. As far as the diaphram rupturing that is a new one on me. There are gates made to handle high boost, but maybe that is not one of them.
The highest pressure gates I have seen are around 25psi. Still, most guys run less and use a regulator to achieve the desired pressure. There are actually very good reasons for doing so. Usually a system set up in that manner has more responsive boost control, less boost variation, and better resistance to creep and overshoot. Admittedly these advantages are less important in a diesel app than they are in a gas engine app, but since I haven't yet found a downside to this setup I see no reason to change it for now.

Also, I would very strongly suggest you pull out those stainless bolts and replace them with regular g8 steel. I have been down this road too and I can tell you it can be a nightmare. Stainless will gald after many heat cycles and you an have a mess on your hands. The antiseize will help, but still not a good idea on exhaust stuff. They snap so easily.
Interesting, since my experience has been the exact opposite. I have found that once alloy steel bolts (i.e. Grade 5,8 or metric 8.8,10.9) have gotten hot enough in an exhaust system they will often seize in their holes, and they end up having about as much strength as a Grade 2 bolt (if that) so they will twist off with very little effort. Anti-seize helps with later removal, but they still rust badly and have a tendency to lose their threads because they get so soft. Stainless pretty much maintains it's strength, and I haven't seen it have any tendency to gall. Then again, I always use anti-seize on exhaust bolts.

A good example are the headpipe bolts screwed into the manifolds of the 6.2 I just removed. When I installed that engine I used stainless steel bolts with anti-seize to hold the flanges onto the manifolds (one rusted alloy steel stud on one manifold and two on the other had broken during removal of the pipes in the original install). When I went to remove them yesterday they broke loose with the same approximate force as I had tightened them with and cleanly unscrewed from the manifolds. They were discolored from the heat, but none the worse for wear. I have never had a steel manifold flange bolt be that easy to remove even after only a month of use.

An example of the perils of alloy steel bolts is the 12mm exhaust manifold bolt my friend Brian broke off in the head of his 12V while trying to remove it with a 3/8" drive ratchet, or the 2 12mm turbo mount studs I broke off (and had to extract by TIG welding a nut to them) with a regular box end wrench. The bolts had become so soft it felt like I was twisting off aluminum. Anyone who has removed many exhaust fasteners knows exactly what I am talking about.

Hope you dont think I am picking here, but I have done a fair amount of this stuff and learned from my own mistakes. I just try to keep poeple from reliving headaches I have had.

I think you gotta cool build and it should be fun.
As have I, which is why I do things the way I do. I appreciate your comments, but I have apparently had different experiences than yours, and I tend to stick with what has worked for me in the past. :D
 
#28 ·
So will that thing regulate backpressure? Being that it's on the exhaust manifold and doesn't appear to be hooked into the boost side of things. First I've ever seen of anything such as that, makes me curious.


I'm still waiting to see how long the 10 bolt lasts :nuke:

:grinpimp:
 
#29 ·
So will that thing regulate backpressure? Being that it's on the exhaust manifold and doesn't appear to be hooked into the boost side of things. First I've ever seen of anything such as that, makes me curious.
It's just a wastegate. The boost and regulator connections aren't hooked up yet. The fitting on the underside of the actuator will be connected directly to manifold pressure, while the upper one will be connected to a pressure regulator, which in turn will also be connected to manifold pressure.

The operation works like this: lets say the regulator valve is set for 15psi. As boost builds, the regulator will allow flow until it's 15psi limit is reached, at which point it will maintain 15psi pressure on the top of the actuator diaphragm. There is also a 5psi spring on the top of the diaphragm, which is added to the 15psi applied by the regulator for a total of 20psi. Meanwhile, full manifold pressure is applied to the underside of the diaphragm. When it reaches 20psi, it will begin to overcome the pressure on top of the diaphragm and force it upwards, opening the poppet valve and diverting exhaust flow.

The trick is in the response curve of this setup. Springs increase in force linearly at a rate determined by both the starting pressure and the springs rate in lbs per inch of compression. Since the springs height is fixed by the dimensions of the diaphragm housing, then it follows that the higher the initial spring pressure, the greater the springs rate will be. So, if you simply used a 20psi spring in the housing, then the boost pressure would begin to open the spring at 20psi, but it's opening rate would be relatively slow, and the amount of valve opening would be highly dependent on boost pressure, since it is working against a relatively stiff spring. So, at moderate load you might get, say, 22psi, while full throttle may end up getting you 25+psi. OTOH, with a 5 pound spring and regulator, 15psi of the boost counterforce is being applied with a fixed pressure, rather than one that increases with valve travel. Valve opening will still occur at 20psi, but since the boost pressure is working against a much lower (softer) spring rate, it will take less change in boost pressure to effect a given amount of wastegate valve opening. So, at moderate load you may get barely a hair over 20psi, while full throttle will still be held down to 21-22psi. In other words, it gives tighter control over the boost.


I'm still waiting to see how long the 10 bolt lasts :nuke:

:grinpimp:
It will be fine. I don't abuse my equipment, and I know how much it can take. My bigger concern is that I might be replacing ball joints every year or two. If that ends up being the case I will build a 609 front axle to replace the 10b.
 
#30 ·
After close examination of the frame damage I have (and multiple repairs that have been made) I have decided the front section of my frame is a basket case:

Here's the area around the steering box:

Image


Image


Here's a kink in the passenger frame rail. I believe this happened a couple years ago during a hunt when I ran off the road and hit a wash-out HARD:

Image


I was considering repairing all the damage, but I would still have a frame made out of .140" thick steel, which is prone to bending and cracking. Not exactly a good foundation for a 1000+lb engine :rasta: As luck would have it, a friend of mine was scrapping out the solution to my problem:

Image


That's the front frame section from a '79 1 ton 4x4 chassis cab. The metal is a solid .100" thicker than the 1/2 ton Blazer frame (just shy of .250"), and the section behind the spring hangers is taller. Thanks to the thick metal these frames don't crack like their lighter siblings. As a bonus, it will be a lot easier and faster to cut my front frame section off and graft this one on there than it would be to try to properly repair it. I shouldn't have any frame issues even when wheeling with the heavy Cummins.

The cut-n-paste process starts tomorrow. I will post up more pics, of course :D
 
#32 ·
Here's the result of a days worth of
Image
,
Image
, and
Image
.

Here's the engine bay minus a frame:

Image


Here's the cut out section of original frame:

Image


Here's the new old 1 ton frame grafted in place:

Image


There is still a lot left to do. Right now, just the outside web has been welded. I need to finish welding the two pieces together, then I need to cut and weld in fishplates and reinforcements. Next, I have to move the spring hangers (I had relocated my front axle forward 2"), reinstall the front axle, mount the Ford shock towers, redo the crossmembers (which I was going to do with the 1/2 ton frame as well), reinstall the brake and fuel lines, and reinstall the steering box. THEN I can actually start the engine swap! What a PITA!

Still, I know it will be worth it to have the much stronger 1 ton frame supporting the engine. :D
 
#33 ·
so its just the front piece of frame going in
?
 
#34 ·
That's it. K5 frames are completely different from pickup frames behind the section I grafted on. Besides, the frame doesn't normally have any issues under the cab anyway, since the body provides a LOT of extra support. The engine bay section of frame is just floating out front, pretty much on it's own, and has a lot of stress put on it from the engine (weight and torque) and the steering box. It is the section that always has problems.